
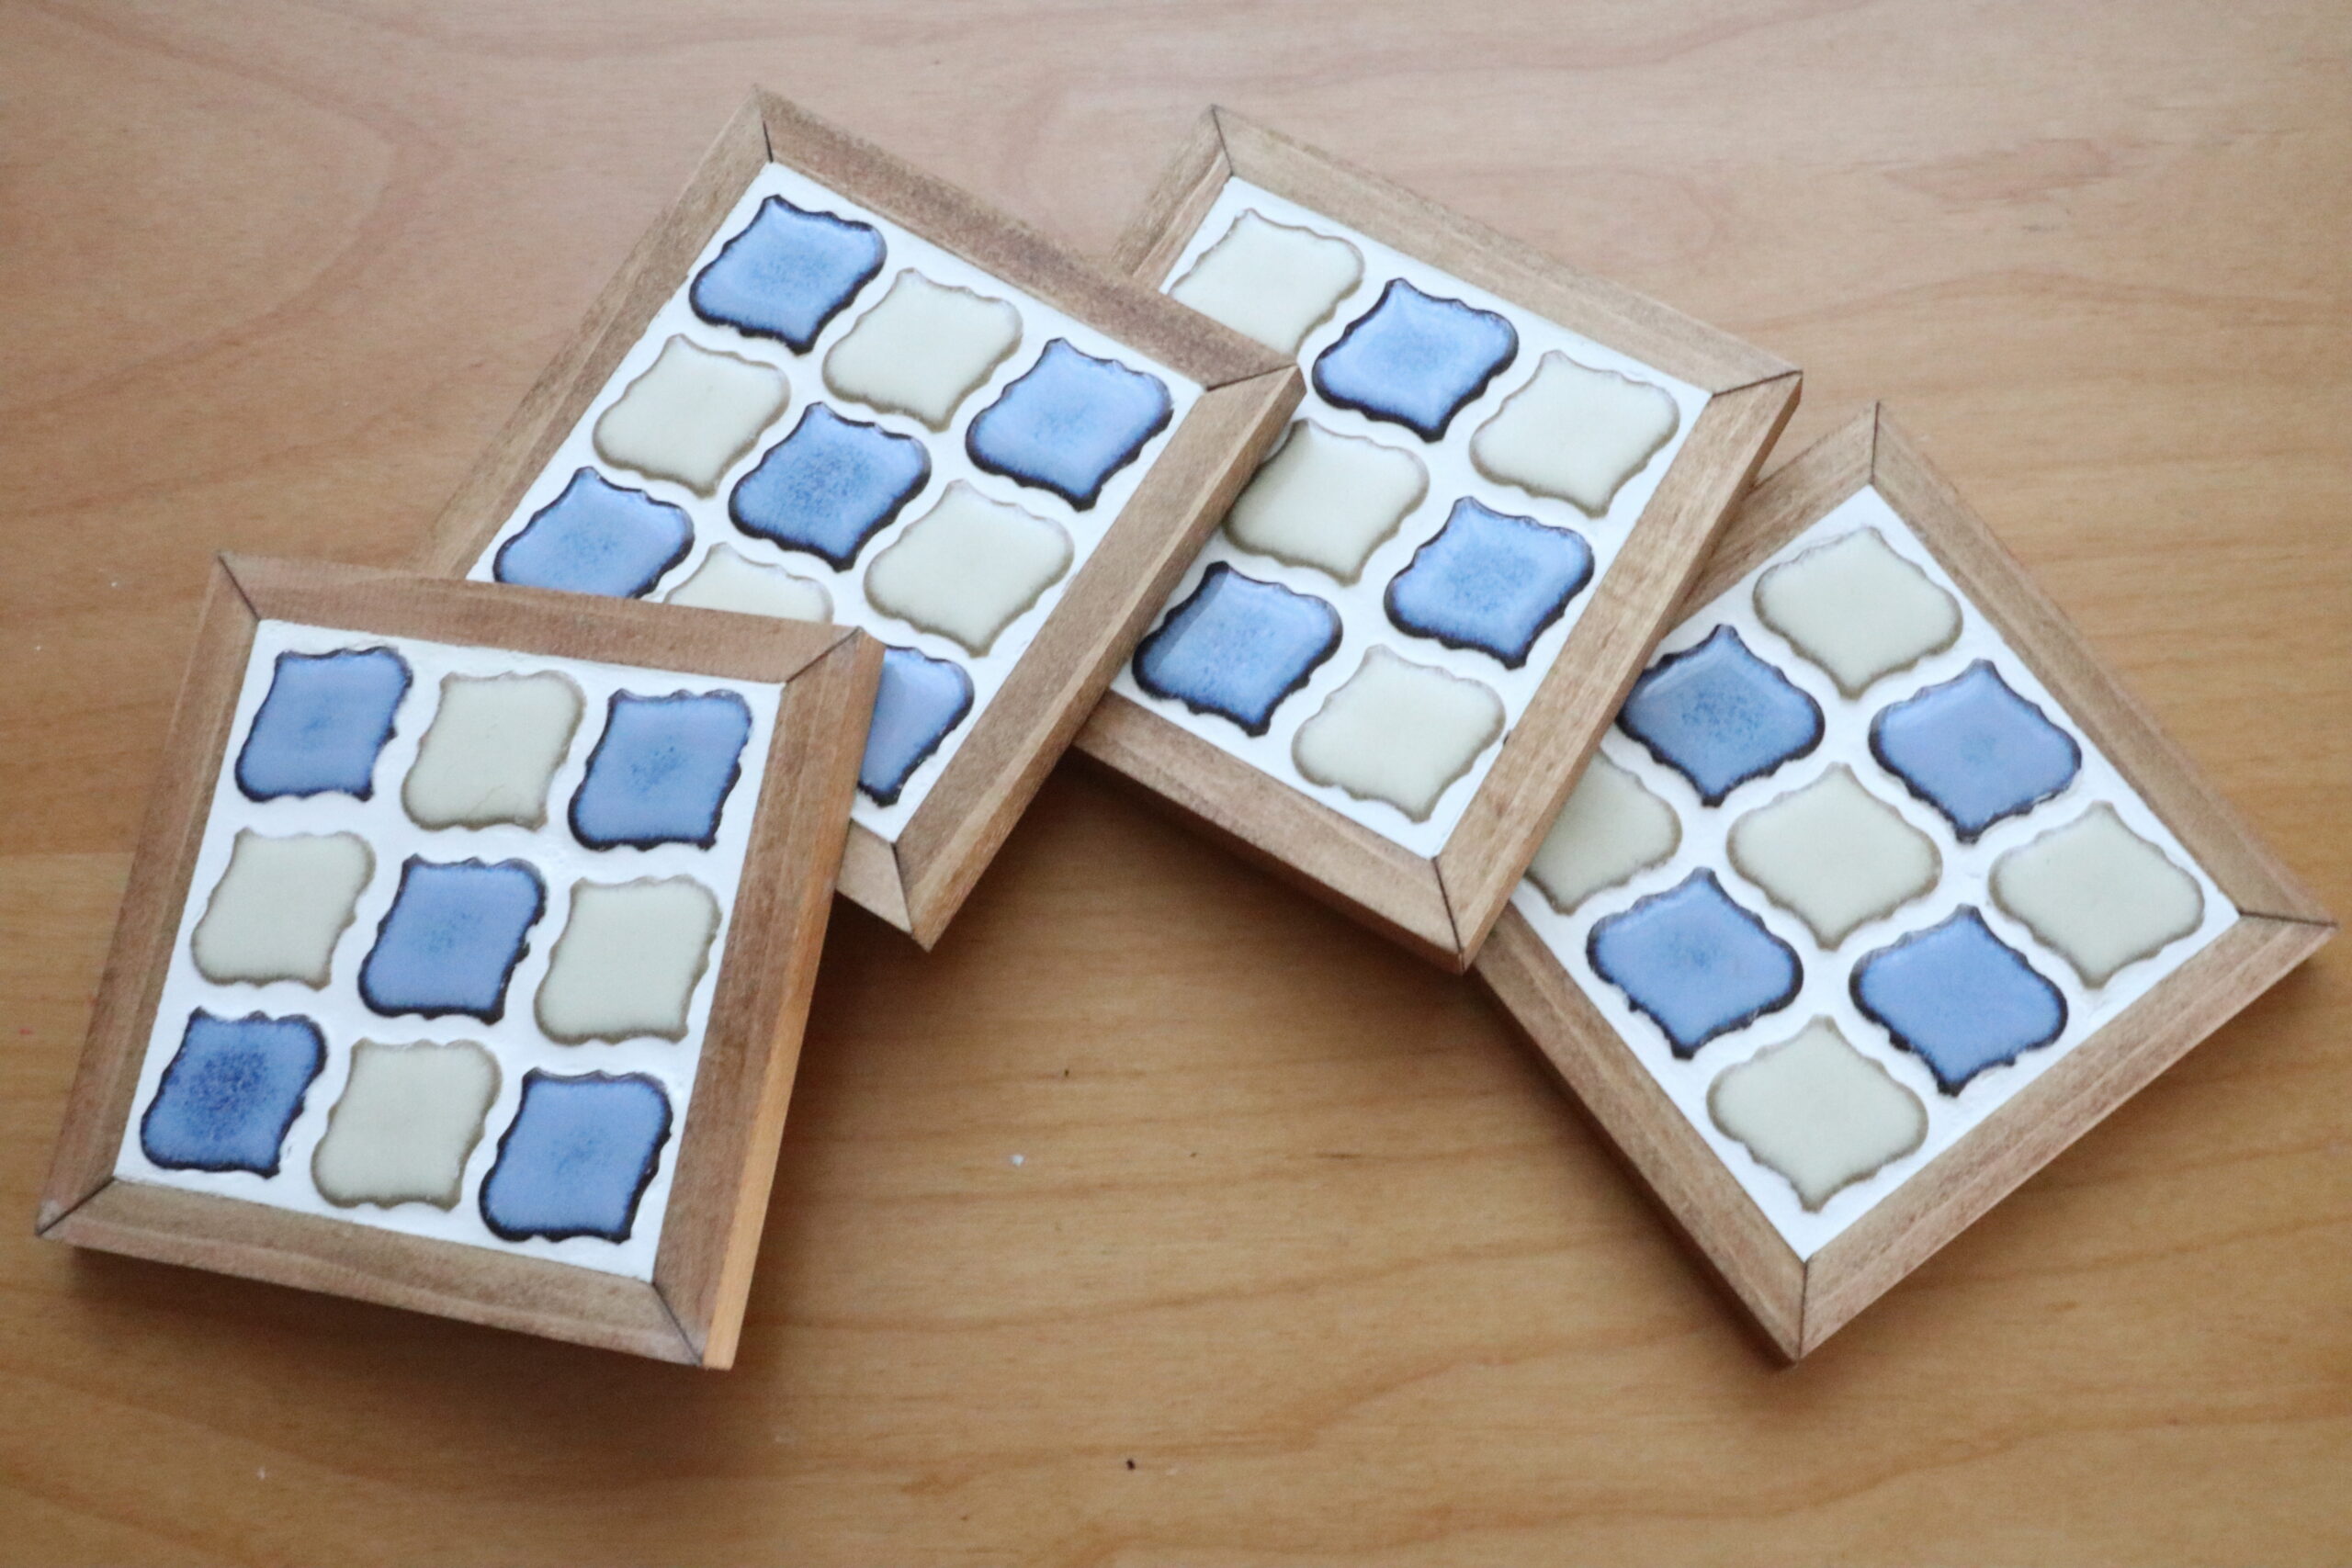
Coasters protect the surface of any furniture from mugs and glasses that are too cold or too hot, as well as from those annoying little spills that may taint our furniture.
Material list
- Mosaic tiles
- Plywood (or wooden board) — t=5mm
- L-shaped wood — 10x10mm
- Glue
- Grout
- Water
Tools list
- Circular saw (or Table saw)
- Trim-router (If you need)
- Bucket
- Sponge
How to
- Cut the wood
Cut 90mm square plate from plywood using circular saw. For L-shaped wood, cut 100mm length and cut the edges at the 45 degree angle. The pieces need to be the exact length and the cut surfaces need to be as close to perfect as you can get them. If you don’t have L-shaped wood, you can make it from 10mm square wood stick with trim-router.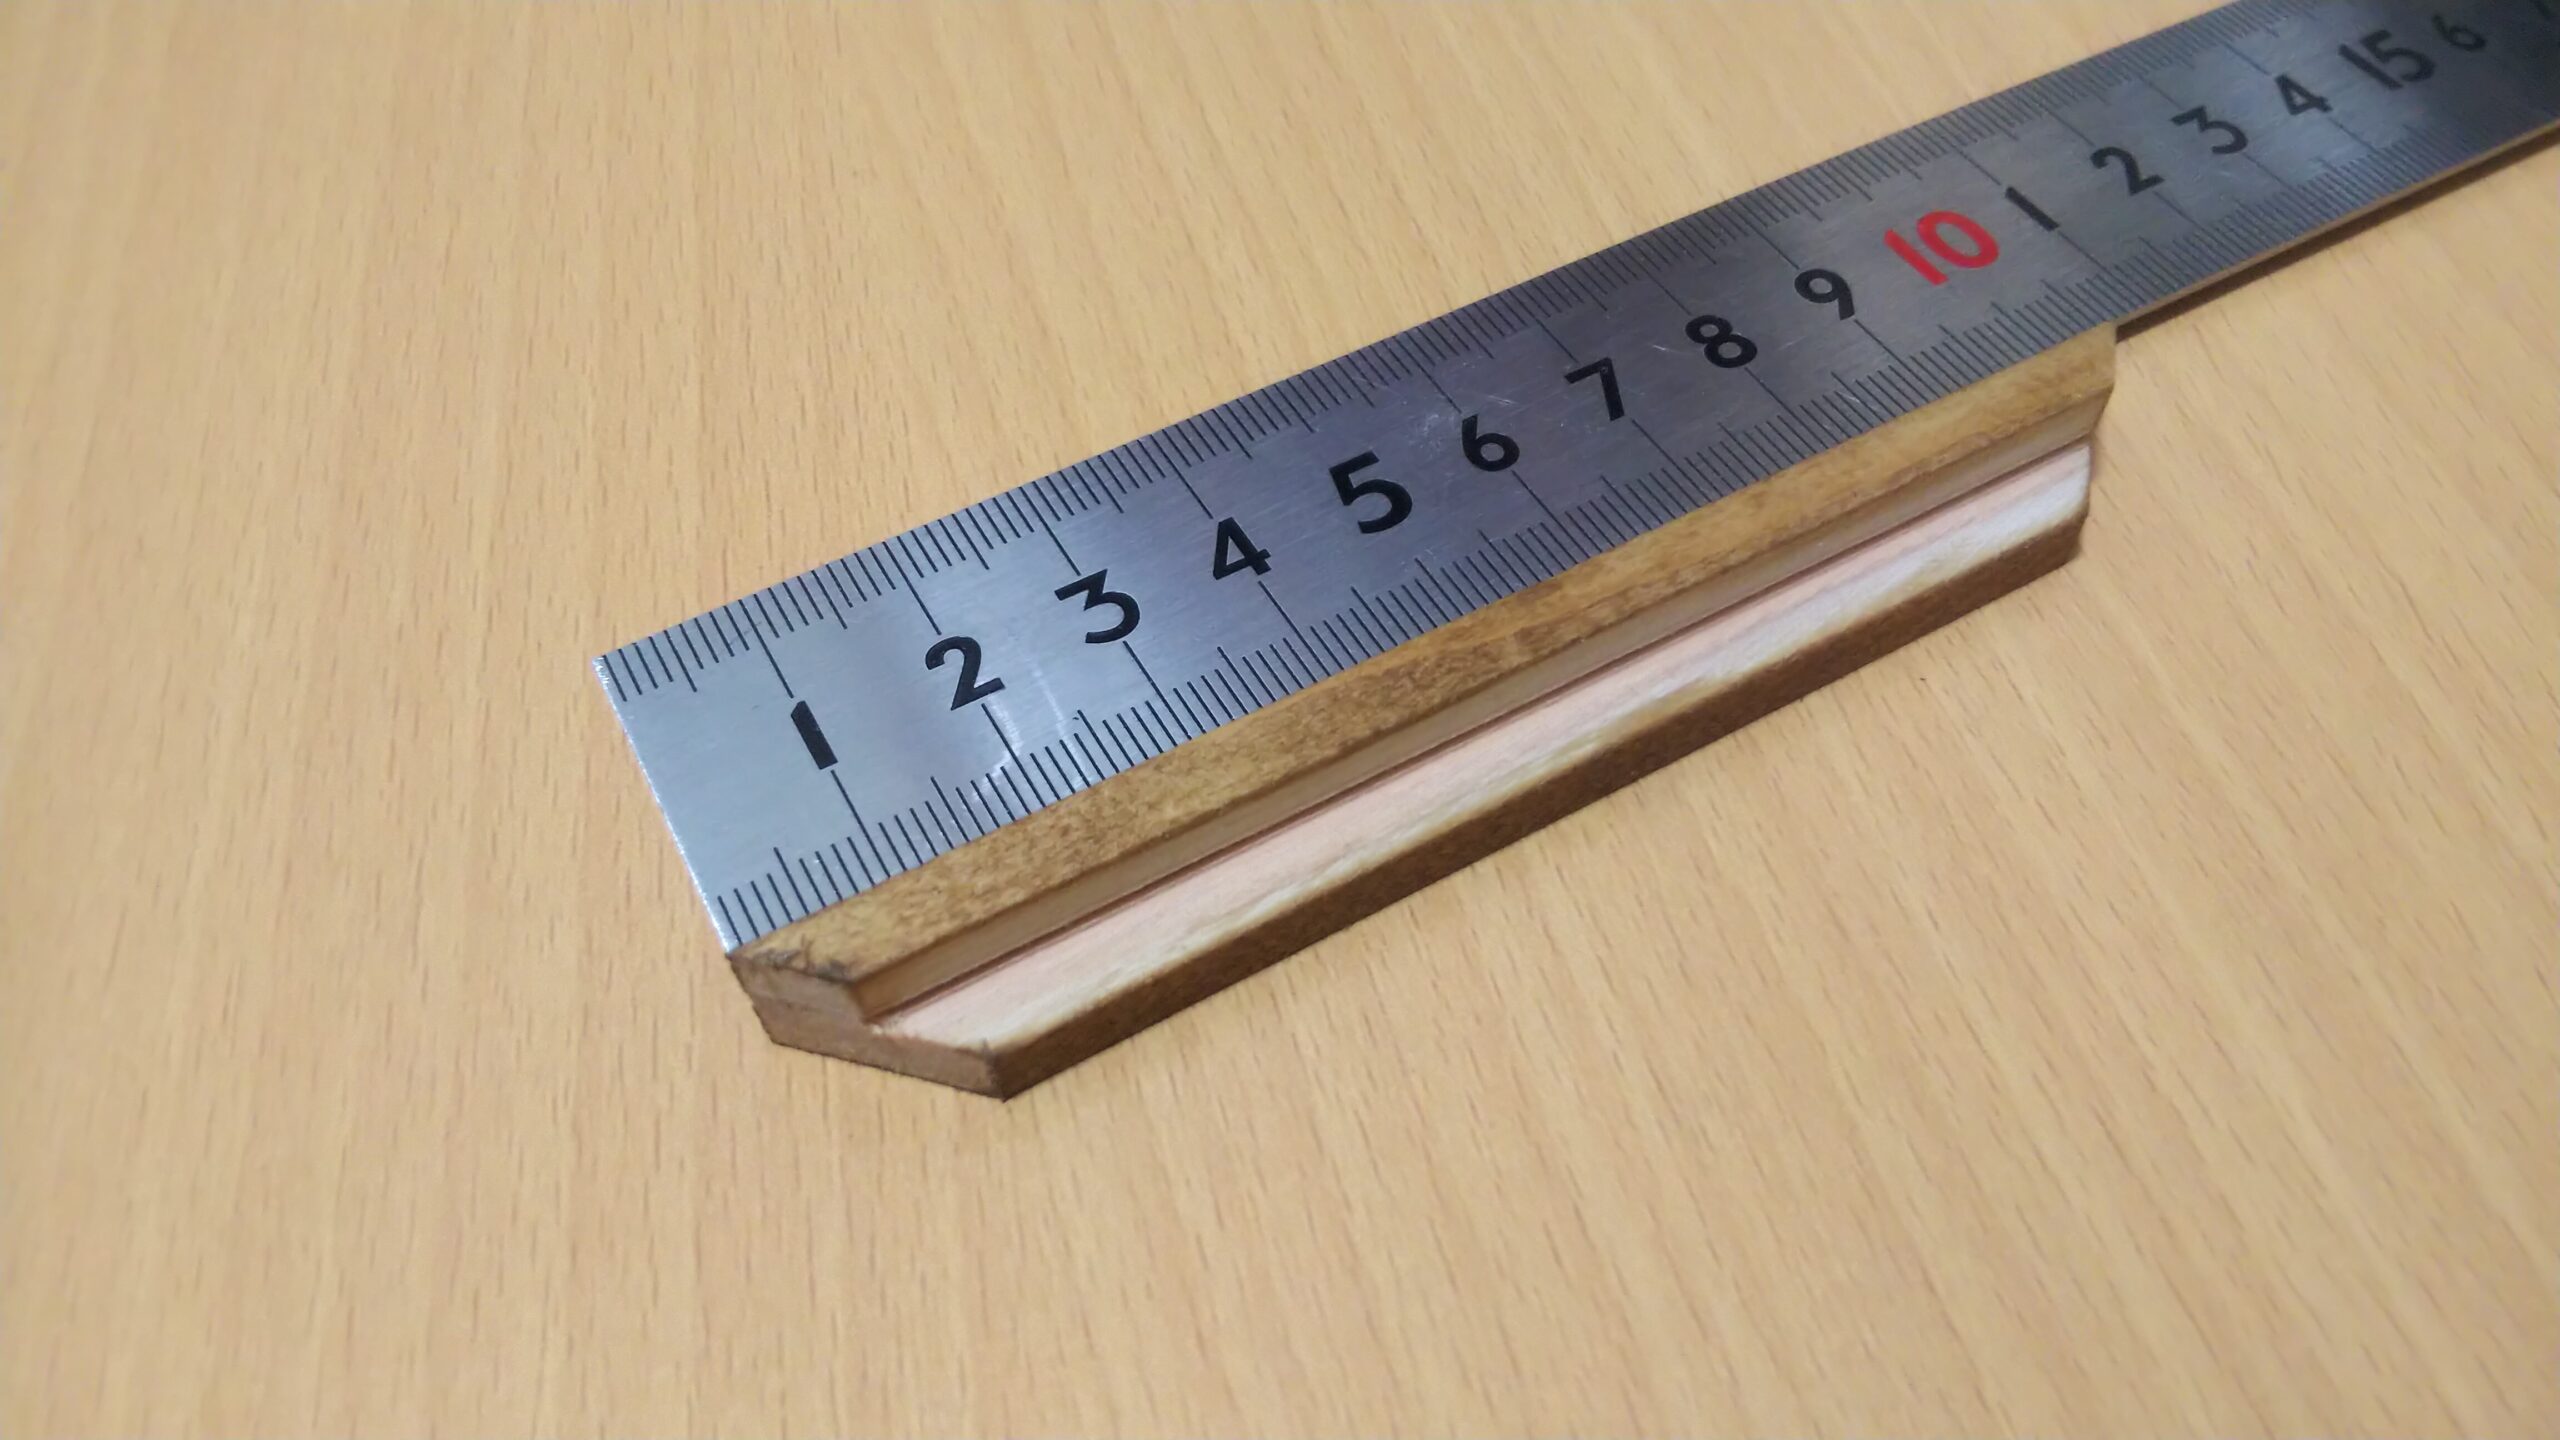
- Glue
Glue 90mm square and 4 pieces of L-shaped wood. In this case, your hands make the best clamps. Simply rub the glued surfaces together and hold them tightly on a flat surface for about a minute. And let glue dry.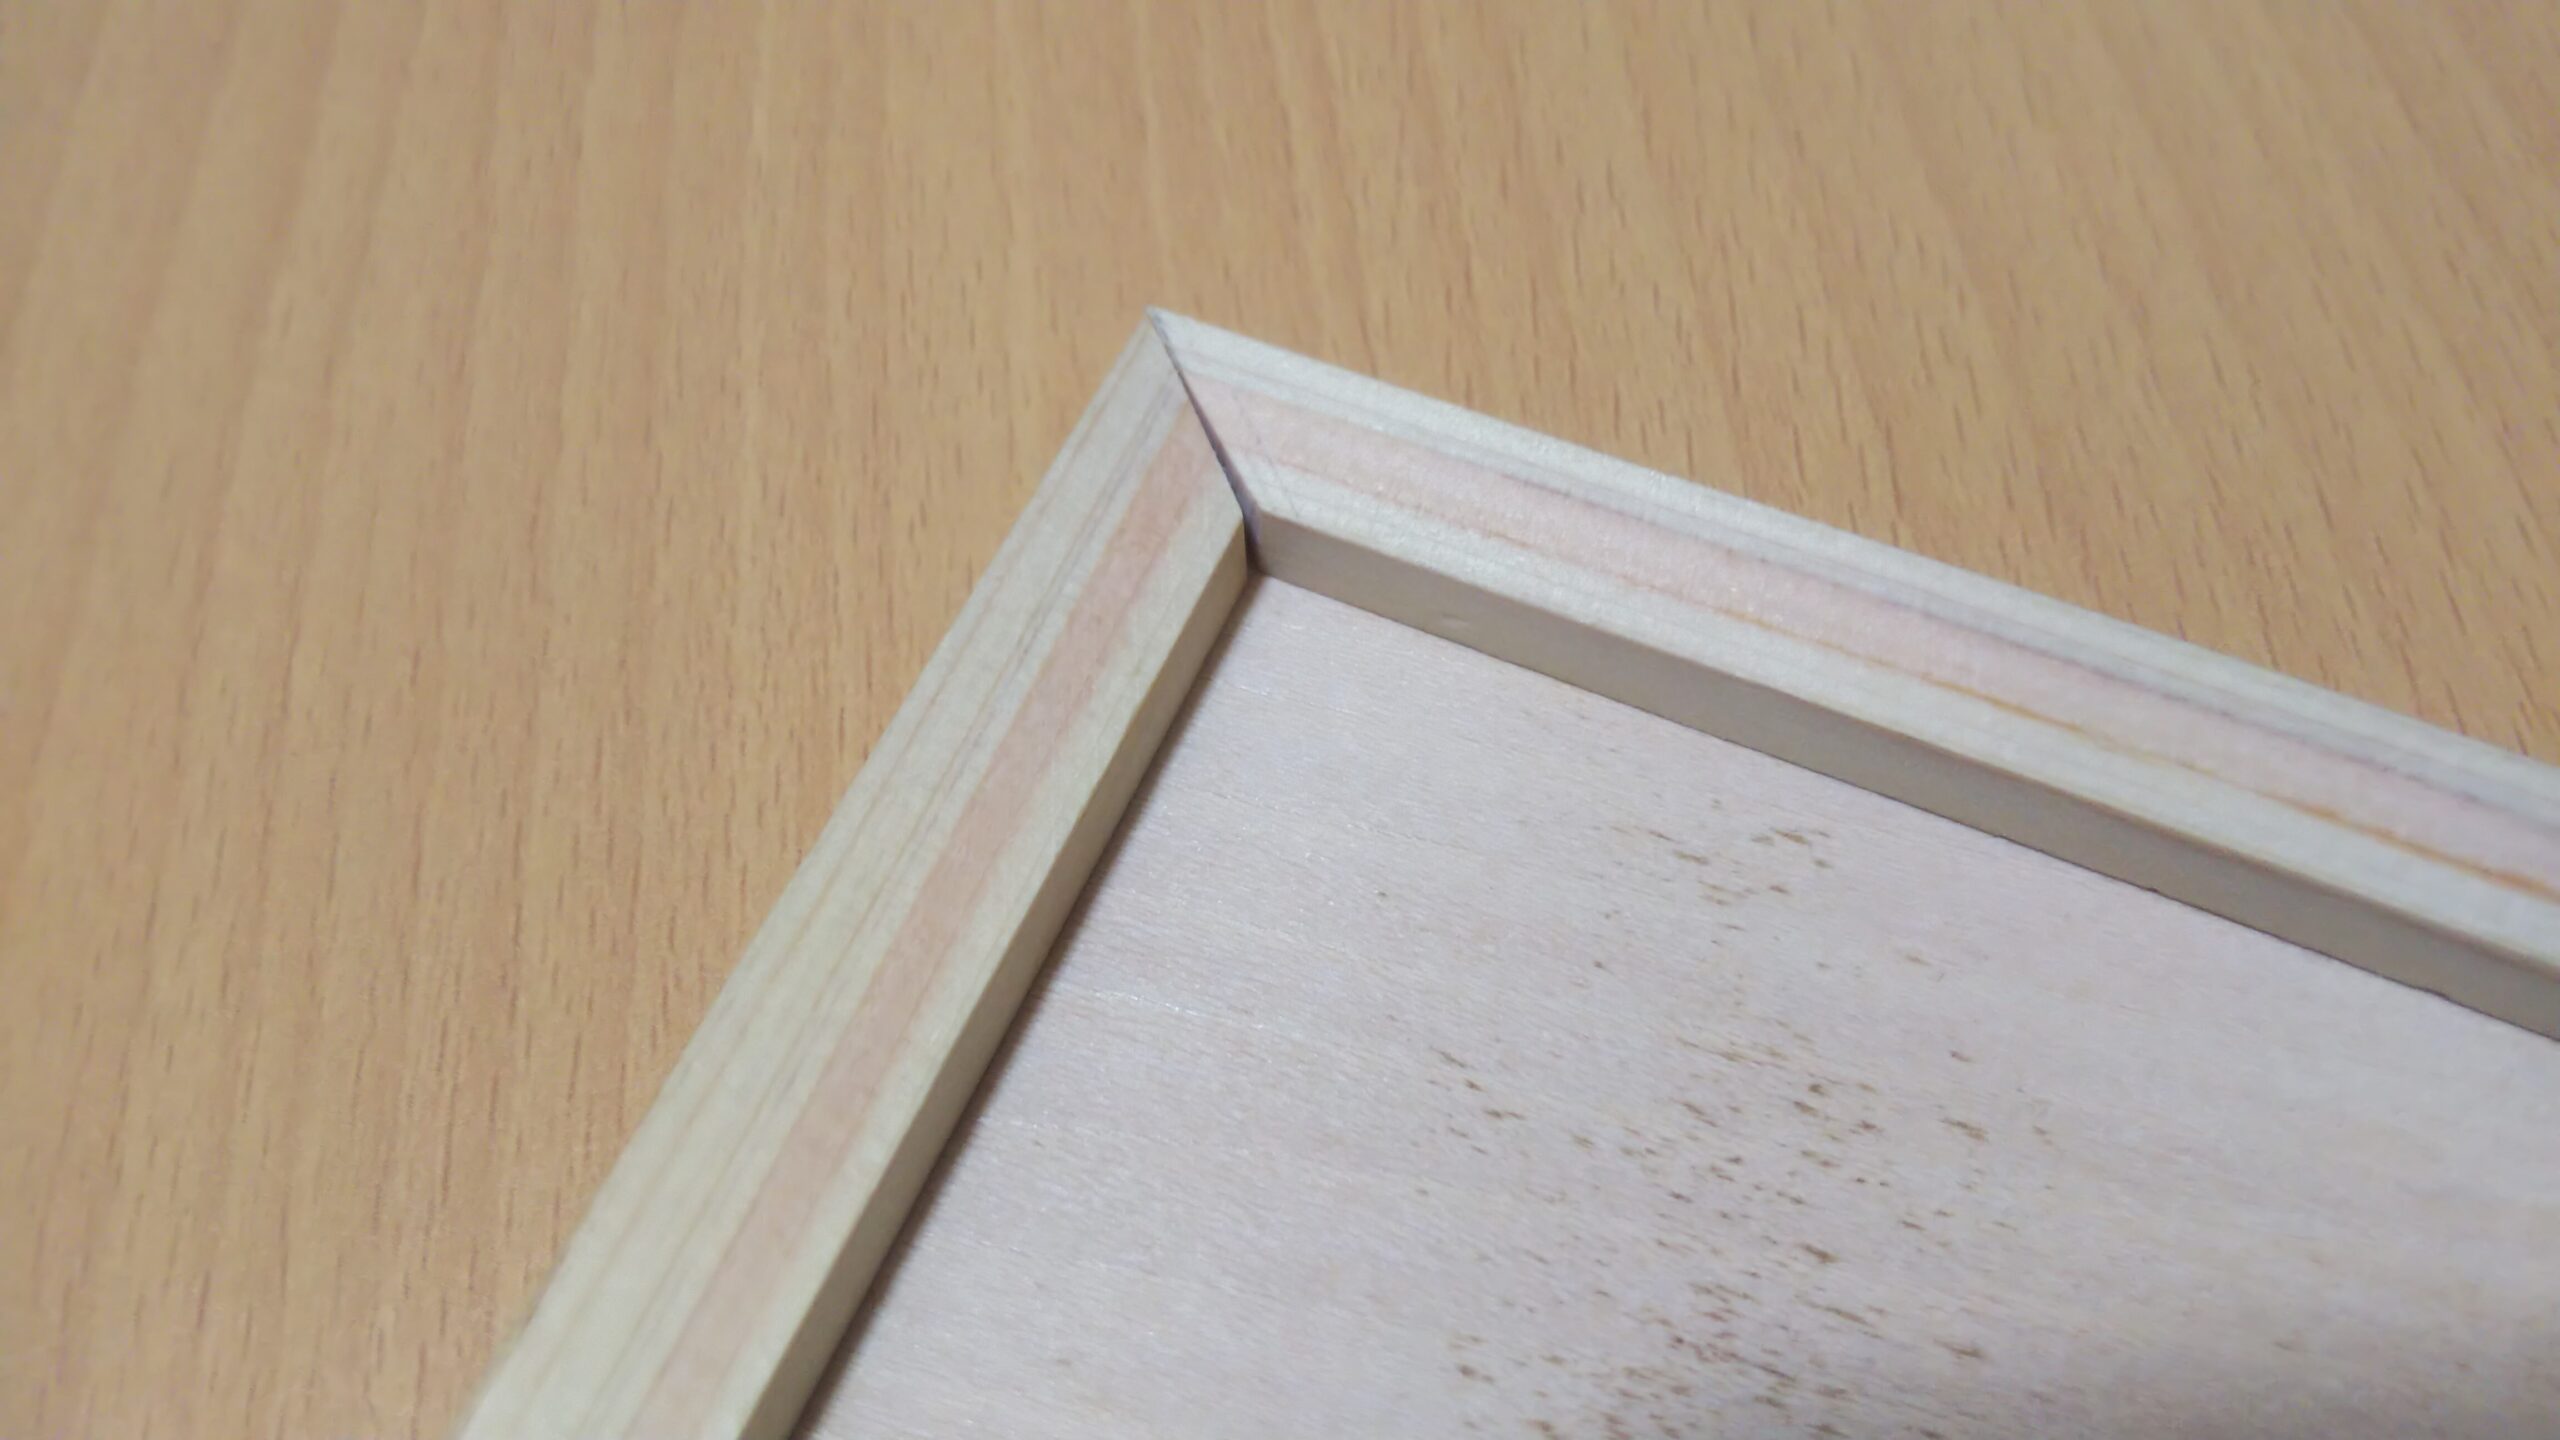
- Paste the mosaic tiles
Using glue, paste the tiles on coasters. Be sure to apply a little pressure to set the tiles. Leave glue to dry. If you decide that you want to change the design of the mosaic, make sure that you move the tiles around before the glue fully dries. - Lay the grout
Paste masking tape all around the coaster to protect the sides from excess grout stains. Start to make your grout mixture. Add water to the grout until it becomes a thick consistency. Spread the grout to go in between the mosaic tiles. The goal is to get the grout to go in between your tiles. - Wipe down the tile
Fill the bucket with clean water and dip the sponge into it, taking care to wring out any excess water. It’s important to remember to constantly clean the sponge and water to achieve the best, cleanest results.
Toucan
Thank you for reading the mosaic tile coaster DIY tutorial. I hope it is helpful for you. If you have any question, feel free to ask me.